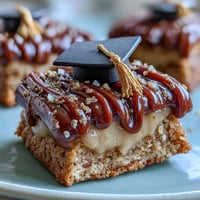
 Pin
Pin The first time I saw a checkerboard dessert was at a dinner party where my friend served tiny, jewel-like squares arranged in a perfect grid pattern. I was mesmerized—not just by how beautiful it looked, but by the way guests would pick up a square, pause to appreciate the contrast, and then close their eyes when they tasted it. That moment stuck with me, the idea that something playful could also be genuinely impressive. I spent weeks figuring out how to recreate that magic in my own kitchen, learning that the secret wasn't perfection but the deliberate clash of textures and flavors working together.
I made this for a small dinner party on a rainy February evening, and watching four adults huddle around the dessert board like it was a game board made me realize how much fun food could be. Someone even asked if they were supposed to eat it in a specific order, which led to everyone debating the best strategy—sweet first or salty to end? It turned a simple dessert into a moment of genuine connection and laughter.
Ingredients
- Crisp shortbread cookies or graham crackers (80 g, crushed): These form the structural base and provide that essential crunch that makes biting into the first layer satisfying; I've learned that crushing them to varied sizes (not powder) keeps them interesting.
- Unsalted butter (30 g, melted): Binds the crumbs without adding extra salt, letting you control the savory balance in your final squares.
- Cream cheese (80 g, softened): The softness here is your counterpoint to crunch; room temperature matters more than you'd think because cold cream cheese stays lumpy.
- Powdered sugar (30 g): Dissolves instantly into the cream cheese for a silky soft layer without graininess.
- Vanilla extract (1 tsp): A small amount awakens the creaminess without making it taste like dessert; use real vanilla if you have it.
- Dark chocolate (100 g, chopped): The ganache becomes your glossy, sophisticated note; I prefer 70% cacao because it's deep without being bitter.
- Heavy cream (60 ml): Creates the ganache texture through emulsification; it must be hot enough to melt the chocolate but doesn't need to boil.
- Salted caramel sauce (80 g): This is where the magic of salt meeting sugar happens; if you're buying it, check that it tastes genuinely salty, not just sweet.
- Flaky sea salt: A light sprinkle transforms the caramel layer from one-note to complex.
- Fresh raspberries (16 small, optional): A final garnish that adds tartness and visual elegance to the crunchy squares.
Tired of Takeout? 🥡
Get 10 meals you can make faster than delivery arrives. Seriously.
One email. No spam. Unsubscribe anytime.
Instructions
- Build your crunchy foundation:
- Mix the crushed cookies with melted butter until it resembles damp sand, then press it firmly and evenly into your lined baking dish. The pressing matters—you want a compact layer that holds together without being rock-solid.
- Chill and protect:
- Fifteen minutes in the fridge lets the butter set and gives your base structural integrity before you start layering.
- Create your soft layer:
- Beat the softened cream cheese with powdered sugar until completely smooth, then fold in vanilla; the beating removes lumps that would feel grainy on your tongue.
- Make your chocolate silk:
- Heat the cream until wisps of steam rise, pour it over the chopped chocolate, and let them sit together for two minutes before stirring—this resting period is when the emulsion happens naturally.
- Plan your caramel:
- If you're making caramel from scratch, do it before assembly; if using store-bought, just ensure it's the right consistency—thick enough to stay in a square but spreadable.
- Mark your grid with intention:
- Using a ruler and a sharp knife, lightly score the base into sixteen squares; light pressure is key so you're just marking, not cutting all the way through.
- Arrange your checkerboard:
- Fill four squares with cream cheese, four with chocolate ganache, four with salted caramel and a salt sprinkle, and leave four as naked crunchy base (or top with raspberries). Arrange them so the same texture never touches itself diagonally or side-by-side—this creates the visual and textural rhythm that makes the dessert memorable.
- Final chill and set:
- Thirty minutes in the fridge lets everything firm up and lets the flavors settle together without losing the individual character of each layer.
- Slice and serve:
- Use a sharp, clean knife and cut straight down along your scored lines; a slight chill keeps everything from smudging.
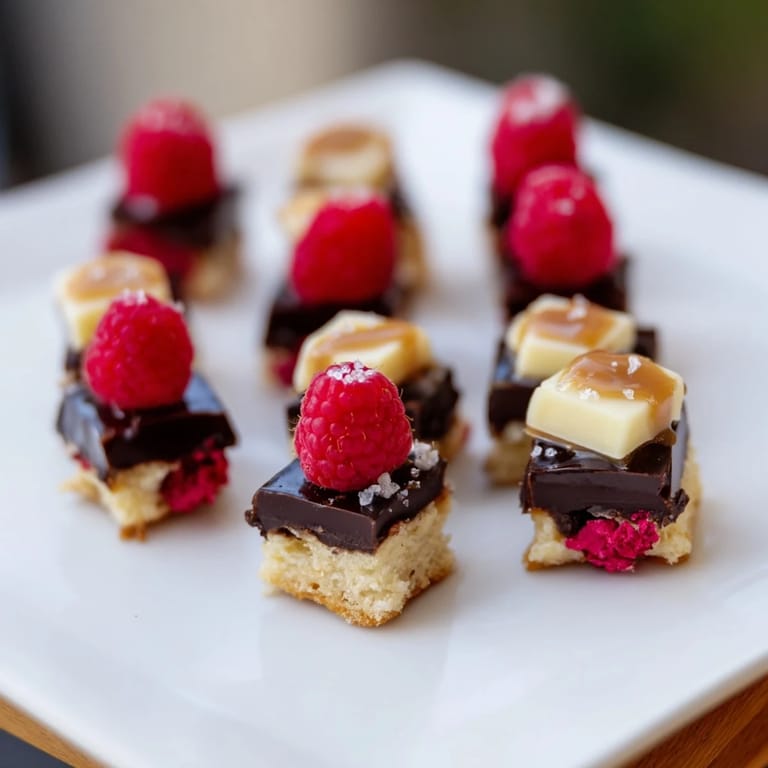
 Pin
Pin The most surprising moment came when my grandmother tasted one of these squares and said it reminded her of the candy boxes from the 1950s, those tin boxes with different varieties arranged in neat rows. She was right—there's something nostalgic and playful about having to choose, about the element of surprise, but made modern and sophisticated. That's when I understood this dessert isn't just about flavor or texture; it's about the ritual of choosing, tasting, and discovering.
Why Texture Matters More Than You Think
When I first started baking, I thought flavor combinations were everything, but making these squares taught me that texture is the real story. The contrast between crunch and cream, between smooth ganache and grainy salt, is what wakes up your mouth and makes you want another bite. It's why these small squares satisfy more than a large slice of regular cake ever could.
The Art of Restraint in Assembly
One of my early attempts had too much filling in each square—I was greedy, wanting each bite to be generous. But they fell apart, and I learned that sometimes less is more. Thin, precise layers stay intact, hold their shape, and let each component shine instead of competing for space in your mouth.
Storage and Serving Wisdom
These squares actually improve slightly after sitting in the fridge overnight—the layers merge just enough at the edges to become more cohesive while staying distinct in flavor. They keep beautifully in an airtight container for up to three days, and can even be assembled partially ahead of time if you're planning a big event.
- Serve them straight from the fridge when they're still cold and firm, never at room temperature.
- If you're making them for guests, cut them an hour before serving and keep them chilled on a board for visual impact.
- Pair with something light and slightly sweet like Moscato d'Asti to balance the richness and salt.
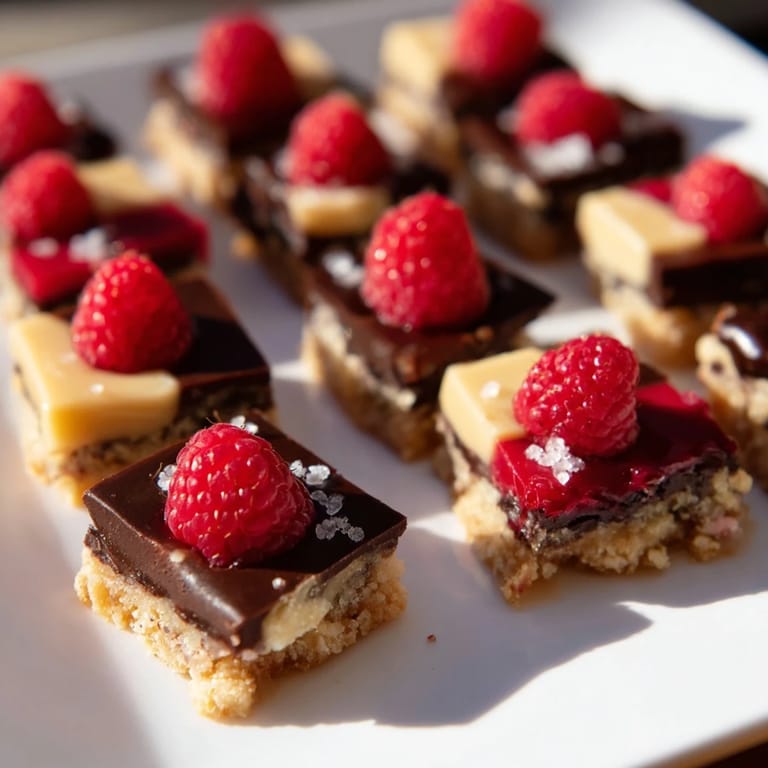
 Pin
Pin What I love most about this dessert is that it proves you don't need elaborate equipment or years of training to create something that feels special and memorable. It's four layers, four textures, and one deliberately playful arrangement—and somehow that's enough to turn an ordinary evening into something people talk about long after.
Recipe Q&A
- → How do I create the distinct layers?
Start by pressing a crushed shortbread and butter mixture to form the crunchy base. Then prepare each layer separately: soften cream cheese with powdered sugar and vanilla for the soft part, heat cream and chocolate for the ganache sweet layer, and use salted caramel with flaky sea salt for the salty squares.
- → How can I prevent the layers from mixing together?
Chill the base layer before adding the next layers to help firm it up. When assembling, carefully pipe or spoon each filling in its section of the grid to keep layers distinct.
- → Can I substitute any ingredients for dietary preferences?
Yes, mascarpone can replace cream cheese for a richer texture, and white chocolate can substitute for dark chocolate ganache. For nutty notes, mix toasted nuts into the base layer.
- → What is the best way to achieve the checkerboard effect?
Use a ruler to lightly mark a 4x4 grid on the chilled base. Fill alternating squares with the prepared layers, ensuring no two identical textures touch, then chill the assembled dessert to set.
- → How should this dessert be served?
Slice carefully along the grid lines to create 16 individual squares. Serve chilled, optionally garnished with fresh raspberries for added freshness and color.