 Pin
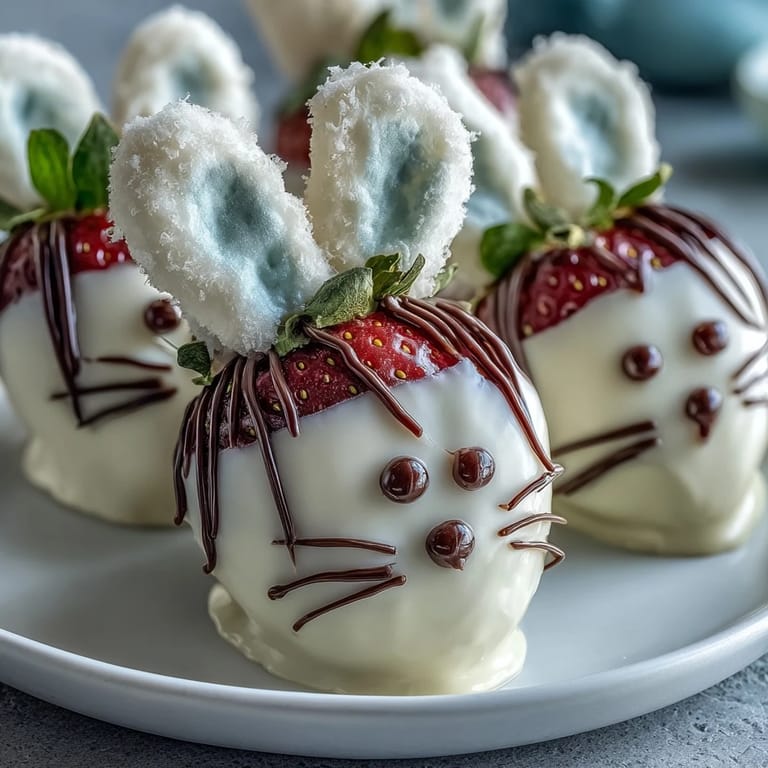
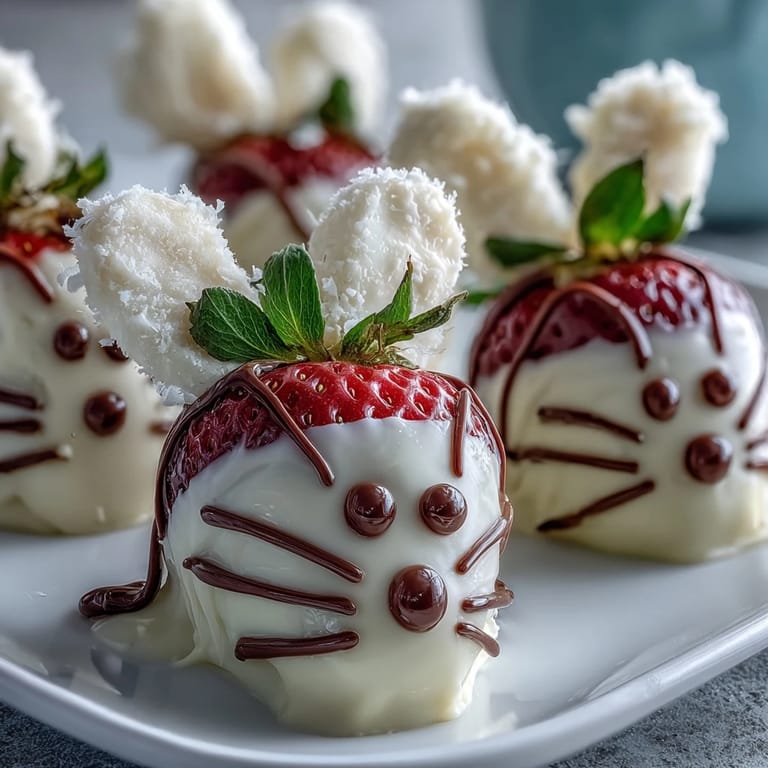
Pin My daughter came home from school with a paper bunny cutout and asked if we could make something that looked like it for Easter dinner. Standing there with strawberries on the counter and a half-melted bar of white chocolate in my hands, I realized these little fruits were already bunny-shaped, just waiting for some personality. What started as a last-minute idea became the thing everyone talked about for weeks, not because they were fancy, but because they were joyful and a little bit silly.
I made these for my sister's Easter brunch last spring, and honestly, I was nervous they'd look amateurish sitting next to her professionally plated ham and asparagus. But the moment the kids saw them, the whole table shifted energy. Adults were asking for extras to take home, trading bunnies like they were currency, and my nephew carefully bit his in half to preserve the face for as long as possible.
Ingredients
- Large fresh strawberries: Pick ones with a nice point at the top so the marshmallow ears sit at a cute angle, and don't skip drying them thoroughly or the chocolate won't stick properly.
- White chocolate: The good stuff matters here because cheap white chocolate can taste waxy, and these little bunnies deserve to taste as good as they look.
- Dark chocolate for drizzle: This is what brings contrast and makes the whole thing feel finished, so don't skimp on quality.
- Mini marshmallows: These become ears, and cutting them in half gives you that soft, pillowy texture that looks intentional and adorable.
- Edible pink food gel or candy melts: For the inner ears and tiny noses that make each bunny feel like an actual creature with personality.
- Candy eyes or mini chocolate chips: These are what bring the whole face to life, so choose whichever feels right for your vision.
Tired of Takeout? 🥡
Get 10 meals you can make faster than delivery arrives. Seriously.
One email. No spam. Unsubscribe anytime.
Instructions
- Set up your workspace:
- Line a baking sheet with parchment paper and wash your strawberries, patting them completely dry with paper towels. Moisture is the enemy of chocolate coating, so take a minute here to get them really dry.
- Melt the white chocolate:
- Use a double boiler method by setting a heatproof bowl over simmering water, stirring occasionally until the chocolate is smooth and glossy. If you prefer the microwave, melt in 30-second bursts and stir between each one to avoid burning.
- Coat the strawberries:
- Dip each strawberry into the white chocolate, letting excess drip off, then place it pointed-side-up on your parchment sheet. Work quickly because the chocolate sets as it cools, and you need it soft enough for the marshmallows to stick.
- Add marshmallow ears while chocolate is still wet:
- Cut each mini marshmallow in half lengthwise and press two halves into the top of each strawberry to form bunny ears. This works best when the chocolate is still tacky, so don't wait too long between steps.
- Create inner ear details:
- Use a toothpick to dot pink food gel or melted pink candy into the center of each marshmallow ear, adding that finishing touch that makes them unmistakably bunny ears. Add a tiny dot on the pointed bottom of the strawberry for the nose.
- Add the eyes:
- Press candy eyes or mini chocolate chips into the white chocolate coating to create the bunny's face, positioning them at a slight angle so your bunny looks happy or curious rather than startled.
- Drizzle chocolate details:
- Melt your dark chocolate and either pipe it with a piping bag or drizzle it with a fork to add whiskers, a smile, or just artistic lines. This step is where you let loose and give each bunny its own personality.
- Chill and serve:
- Pop the sheet into the refrigerator for 10 to 15 minutes so the chocolate sets completely and everything feels solid when you pick them up. Serve them cold, straight from the fridge.
 Pin
Pin There's something about making food that makes people smile out loud that changes how you feel in the kitchen. These bunnies taught me that 'fancy' doesn't always mean complicated, and sometimes the best dishes are the ones where you can see your own creativity reflected in every little detail.
Decoration Ideas That Actually Work
Once you get the basic bunny structure down, the decorations become your playground. Some people use edible pearls to make the bunnies look sparkly and wedding-ready, while others pile on colorful sprinkles for a more playful vibe. I've seen people use different colored candy melts for different bunnies to create a whole Easter basket's worth of personality, and honestly, that's when these stop being just treats and become little edible art projects.
Timing and Make-Ahead Magic
The chocolate coating is what takes these from strawberries to something special, so you can actually prepare these up to a day ahead and keep them in the refrigerator. I've even made the bunny parts the night before and done the final chocolate drizzle on the morning of my event, which takes so much stress out of last-minute cooking. Just keep them cold until serving, and they stay fresh and firm with no melting drama.
Variations Worth Exploring
Dark chocolate coating makes these bunnies look mysterious and sophisticated, while milk chocolate creates something warmer and richer. You can also swap the marshmallow ears for thin cookie triangles, use different candies for eyes, or add tiny pretzel sticks as paws if you want to get architectural about it. The beauty of this recipe is that it's more of a framework than a strict instruction, so your version might be even better than mine.
- Try using pink or pastel-colored candy melts for a whole Easter-themed look instead of just white.
- Use a toothpick to write tiny initials or names on the chocolate drizzle if these are place cards for a dinner party.
- Make a vegan version with dairy-free chocolate and plant-based marshmallows because everyone deserves a cute bunny dessert.
 Pin
Pin These strawberry bunnies are the kind of recipe that reminds you why cooking for people matters. They'll be gone in minutes, but the memory of everyone's faces when they showed up on the table lasts so much longer.