 Pin
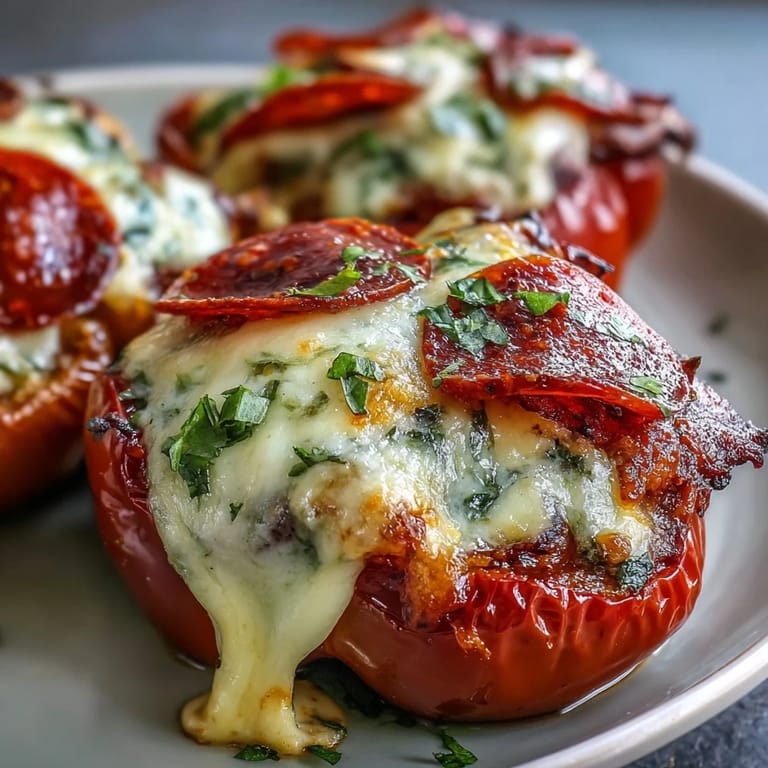
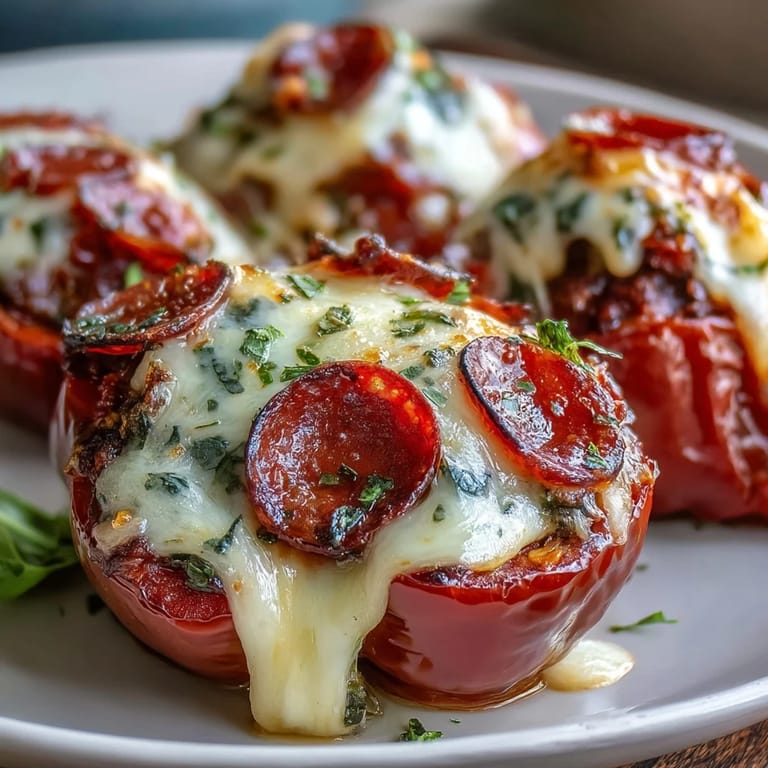
Pin My kitchen was quiet on a random Tuesday when my partner mentioned craving pizza but nothing too heavy. I opened the fridge and spotted four vibrant bell peppers, and suddenly the idea clicked—why not make pizza stuffed inside them instead? What started as a quick solution to a craving became something I couldn't stop thinking about: crispy-edged peppers filled with bubbling cheese and pepperoni, all without the guilt of carb-loaded crust. That first bite felt like cheating on keto, in the best possible way.
I served these to my coworkers during a potluck lunch, and the surprise on their faces when they realized there was no bread underneath was priceless. Someone asked if I'd made a mistake, then went back for seconds. That's when I knew this wasn't just a keto workaround—it was genuinely delicious, the kind of dish people enjoy because it tastes good, not because they're forcing themselves into a diet.
Ingredients
- Bell peppers (4 large, any color): Choose firm ones without soft spots, and don't worry about perfect halving—slight imperfections actually help sauce pool where you want it.
- Sugar-free marinara sauce (1 cup): This is non-negotiable for keto; regular marinara sneaks in hidden carbs that add up fast, so check that label carefully.
- Shredded mozzarella cheese (1 ½ cups, divided): Buy the block and shred it yourself if you have time—pre-shredded tends to clump under heat, though it still works fine in a pinch.
- Mini pepperoni slices (½ cup): These are worth seeking out because they cook evenly, but regular pepperoni cut small works just as well and sometimes tastes even better.
- Cooked Italian sausage (½ cup, optional): Brown it ahead of time if you're meal prepping; the extra protein transforms this from side dish to complete dinner.
- Grated Parmesan cheese (¼ cup): The sharpness cuts through richness and adds a golden crust that looks restaurant-quality.
- Olive oil (1 tablespoon): Don't skip this—it keeps peppers from sticking and adds subtle flavor.
- Dried Italian seasoning (1 teaspoon): Fresh would be lovely, but dried works beautifully here and costs less.
- Crushed red pepper flakes (¼ teaspoon, optional): I always add these because heat makes the cheese pop flavor-wise.
- Salt and black pepper: Season boldly; peppers are naturally bland and need your confidence.
- Fresh basil or parsley for garnish: This is the finishing touch that makes people think you spent hours cooking.
Tired of Takeout? 🥡
Get 10 meals you can make faster than delivery arrives. Seriously.
One email. No spam. Unsubscribe anytime.
Instructions
- Heat your oven and prep the peppers:
- Set the oven to 400°F and let it warm while you work. Slice your peppers in half lengthwise, scoop out seeds and the white membrane inside—I use a small spoon and it takes maybe thirty seconds per pepper.
- Oil and season the pepper boats:
- Brush each half lightly with olive oil and sprinkle salt and pepper inside and out. This tiny step prevents them from tasting hollow and adds depth.
- Mix your filling:
- Combine marinara sauce, one cup of mozzarella, sausage if using, half the pepperoni, Italian seasoning, and red pepper flakes in a bowl. Stir until everything is evenly distributed—you want every spoonful to taste the same.
- Stuff generously:
- Spoon filling into each pepper half, packing it slightly so it stays put during cooking. Don't be shy; these peppers are sturdy.
- Top with cheese and pepperoni:
- Divide remaining mozzarella and pepperoni among the peppers, then sprinkle Parmesan over everything. The Parmesan will brown beautifully and create little crispy bits.
- First bake covered:
- Loosely tent foil over the baking dish and bake for twenty minutes. The foil traps steam, which softens the peppers without drying them out.
- Finish uncovered:
- Remove foil and bake another ten minutes until cheese bubbles at the edges and turns golden brown. You'll smell when it's close—trust that aroma.
- Rest and serve:
- Let everything cool five minutes before moving peppers to a plate. This makes them less fragile and lets flavors settle slightly.
 Pin
Pin My mom tried these at a family dinner and asked me to make them again the next week. That's when I realized this dish transcends the keto world—it's just genuinely good food that happens to fit a lifestyle. The peppers transformed into something tender, the cheese turned creamy and rich, and the whole thing tasted like comfort without any compromise.
Timing and Temperature Matter More Than You Think
The covered bake at 400°F softens peppers without letting them collapse into mush. I once tried 425°F thinking I'd speed things up, and they shriveled like they'd been in the sun too long. Since then I stick to 400°F—it's a sweet spot where peppers become tender and everything melts together perfectly. Oven thermometers can vary wildly, so if yours runs hot or cold, adjust timing by a few minutes and keep an eye on cheese color rather than the clock.
Variations That Keep Dinner Interesting
The basic formula is so forgiving that you can swap almost everything. I've made vegetarian versions with sautéed mushrooms instead of sausage, and they're just as satisfying. Sometimes I use provolone instead of mozzarella for a different sharpness, or add a pinch of garlic powder to the filling. One night I threw in some roasted red pepper and suddenly it felt Mediterranean. Each version tastes completely different but takes exactly the same time.
Serving and Storage Secrets
These peppers are stunning on their own, but I pair them with a crisp green salad so the meal feels complete. A simple oil-and-vinegar dressing cuts through the richness beautifully. Leftovers reheat perfectly in a 350°F oven for about eight minutes, or even cold the next day if you're in a rush—the cheese stays creamy and pepperoni flavor actually intensifies.
- Make these ahead: Stuff peppers the night before, cover with foil, and bake when ready; no thawing needed.
- Double the batch: These freeze well before baking, so prep a second batch on a quiet Sunday.
- Customize toppings: Let everyone build their own if cooking for picky eaters, since peppers are already in the oven.
 Pin
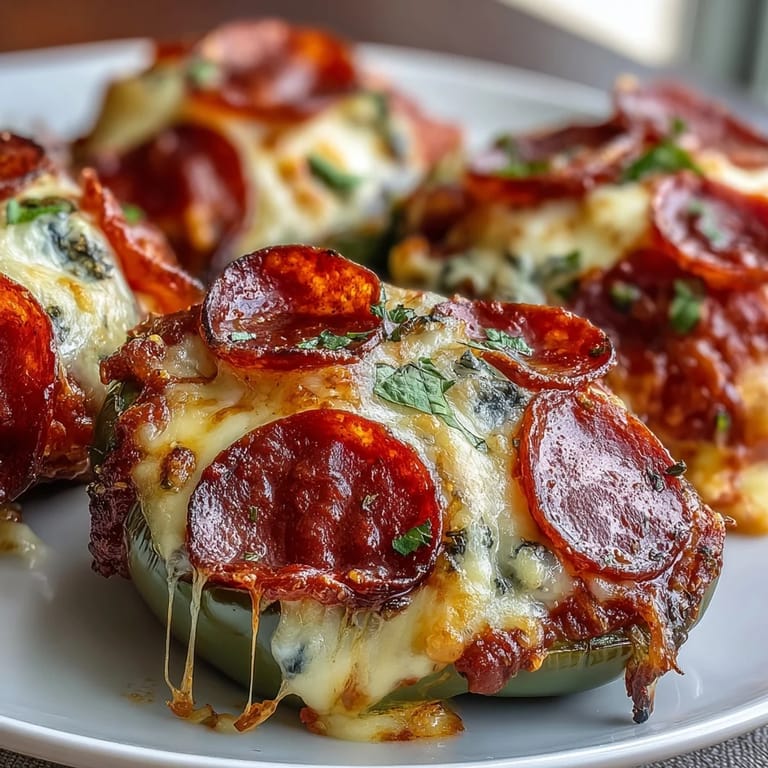
Pin This recipe proved to me that keto cooking doesn't mean missing out on pizza nights—it just means thinking differently about where those flavors live. Every time I make these, I'm reminded that some of the best kitchen discoveries happen when you stop trying to replicate something and just let ingredients surprise you.
Recipe Q&A
- → Can I make these stuffed peppers ahead of time?
Absolutely. Prepare the peppers and filling separately, then store them in the refrigerator for up to 24 hours before baking. You may need to add a few extra minutes to the baking time if starting from cold.
- → What other toppings can I add?
Mushrooms, black olives, cooked bacon bits, or diced bell peppers work wonderfully. Just keep in mind that adding vegetables will slightly increase the carb count per serving.
- → How do I store leftovers?
Store cooled stuffed peppers in an airtight container in the refrigerator for 3-4 days. Reheat in the oven at 350°F until warmed through, or microwave individually for 2-3 minutes.
- → Can I freeze these peppers?
Yes, freeze after baking and cooling completely. Wrap each pepper individually in plastic wrap and foil, then freeze for up to 3 months. Thaw overnight in the refrigerator before reheating.
- → Are these suitable for meal prep?
Perfect for meal prep. Make a batch on Sunday and portion into containers for easy lunches throughout the week. The flavors actually improve after sitting for a day or two.
- → What can I serve alongside?
A crisp green salad with ranch dressing, roasted broccoli, or cauliflower mash makes excellent low-carb sides. For those not strictly keto, a small portion of pasta works too.