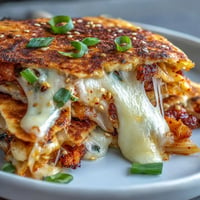
 Pin
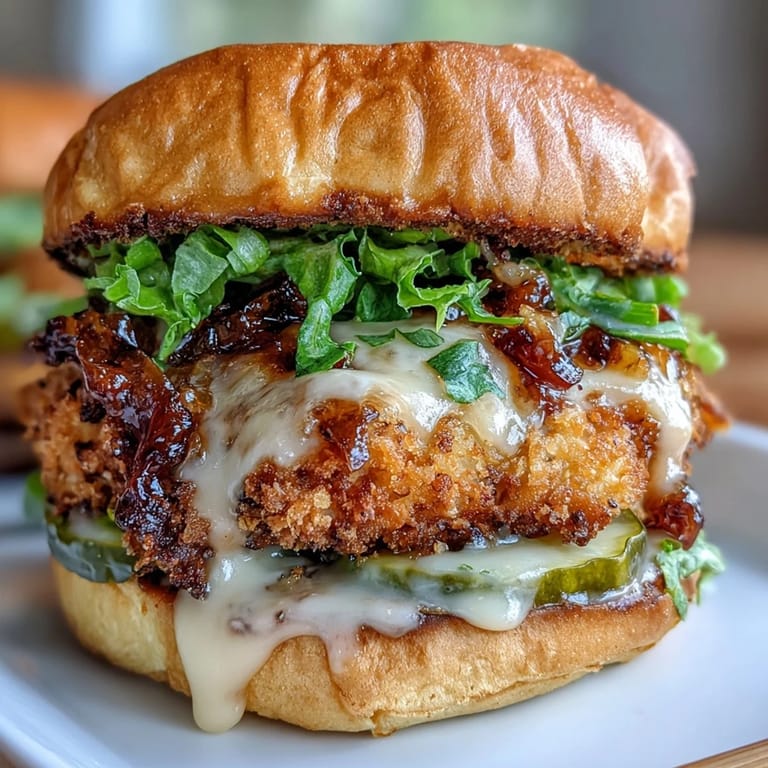
Pin My sister called me in a panic the morning of her game day party, asking if I could bring something that wouldn't require heating up at her place. I'd been experimenting with chicken sliders all week, and something clicked when I realized the crispy coating stayed perfectly crunchy even after cooling slightly. That tangy-sweet honey mustard sauce was the real game-changer though, transforming what could've been ordinary fried chicken into something people actually fought over. Now these sliders show up at every gathering I can sneak them into.
I'll never forget watching my nephew's face light up when he bit into his first slider—that moment when the crispy coating cracked and the honey mustard hit his taste buds. He made me promise to bring them to every family dinner after that, and I've kept my word for two years running. There's something about food that's small enough to feel fun but substantial enough to actually satisfy that just works.
Ingredients
- Boneless, skinless chicken breasts: Cut these into uniform pieces so they cook evenly; I learned the hard way that thick pieces in the center stay raw while thin ones turn rubbery.
- All-purpose flour: This forms your foundation layer and helps the egg stick; the paprika and garlic powder here do real work, not just flavor.
- Panko breadcrumbs: The larger flakes stay crispier than regular breadcrumbs, which is the whole point of this dish.
- Eggs: These act as your glue; beaten well, they create an even coating that holds everything together through the oil.
- Vegetable oil: You need enough to come halfway up the chicken pieces for proper shallow frying; don't skimp here.
- Mayonnaise: Use real mayo, not salad dressing; it's the silky base that makes your sauce coat beautifully.
- Dijon mustard: The good stuff with visible seeds delivers a sharper, more complex bite than yellow mustard ever could.
- Honey: This balances the mustard's heat with genuine sweetness; warmed slightly, it incorporates more smoothly into the sauce.
- Apple cider vinegar: Just a tablespoon cuts through the richness so the sauce doesn't feel heavy or cloying.
- Slider buns: Toast these lightly to create a barrier so they don't get soggy from the sauce and fried chicken.
- Cheddar cheese: A mild, melty option that doesn't fight with the honey mustard; it should warm slightly from the hot chicken.
Tired of Takeout? 🥡
Get 10 meals you can make faster than delivery arrives. Seriously.
One email. No spam. Unsubscribe anytime.
Instructions
- Cut your chicken into uniform pieces:
- Aim for squares about 2 to 3 inches across and a half-inch thick; if you hit a thick spot, butterfly it gently so everything cooks at the same speed. This is where patience pays off—uneven pieces mean some turn golden while others stay pale and undercooked.
- Set up your breading station like you mean it:
- Three shallow dishes in a row, starting with your seasoned flour, moving to beaten eggs, and finishing with panko. This rhythm becomes almost meditative once you get going, and it keeps your hands from getting completely coated in raw egg.
- Bread each piece with intention:
- Flour first, shaking off excess, then a quick dip in egg, then press it gently into the panko so the coating really adheres. Don't be timid here; the pressing step is what gives you that satisfying crunch later.
- Let the coated chicken rest:
- This 10 to 15 minute pause is non-negotiable—it lets the coating set so it doesn't slide off when you hit the hot oil. I learned this the hard way with oil splatters and lost breading.
- Heat your oil properly:
- Pour about a quarter-inch of vegetable oil into your skillet and let it get genuinely hot over medium-high heat; test it with a single breadcrumb that should sizzle immediately and turn golden within seconds. Cold oil makes greasy, soggy chicken every single time.
- Fry in batches without crowding:
- Three or four pieces per batch is your limit; overcrowding drops the oil temperature and steams the chicken instead of crisping it. Work in batches, giving each piece three to four minutes per side until golden brown and cooked through.
- Check that internal temperature:
- An instant-read thermometer should hit 165°F when you check the thickest piece; this isn't just food safety, it's the difference between tender and rubbery. If you don't have a thermometer, a piece cut open should show no pink.
- Drain on a rack, not paper towels:
- A wire rack lets air circulate underneath so the bottom stays crispy instead of getting soggy from pooling oil. If you only have paper towels, swap them out halfway through once they've absorbed the initial draining.
- Whisk your honey mustard sauce together:
- Combine mayo, Dijon mustard, honey, apple cider vinegar, and seasonings in a bowl, whisking until completely smooth and no streaks of mustard remain. Taste it and adjust—some honey is thicker and less sweet than others, so you might need an extra half-teaspoon.
- Give your sauce time to marry:
- Refrigerating it for 30 minutes lets the flavors settle and deepen; it's not required but makes a noticeable difference in how balanced it tastes. If you're short on time, at least let it sit while you're frying.
- Toast those buns lightly:
- A quick pass in a dry skillet or toaster oven creates a protective barrier against the warm, saucy chicken; it takes two minutes but transforms the texture.
- Assemble with the hot chicken:
- Spread sauce on both bun halves, place a warm chicken piece on the bottom, then add cheese while the chicken is still hot so it melts slightly. Top with lettuce, tomato, pickles, and the bun top, and eat immediately.
 Pin
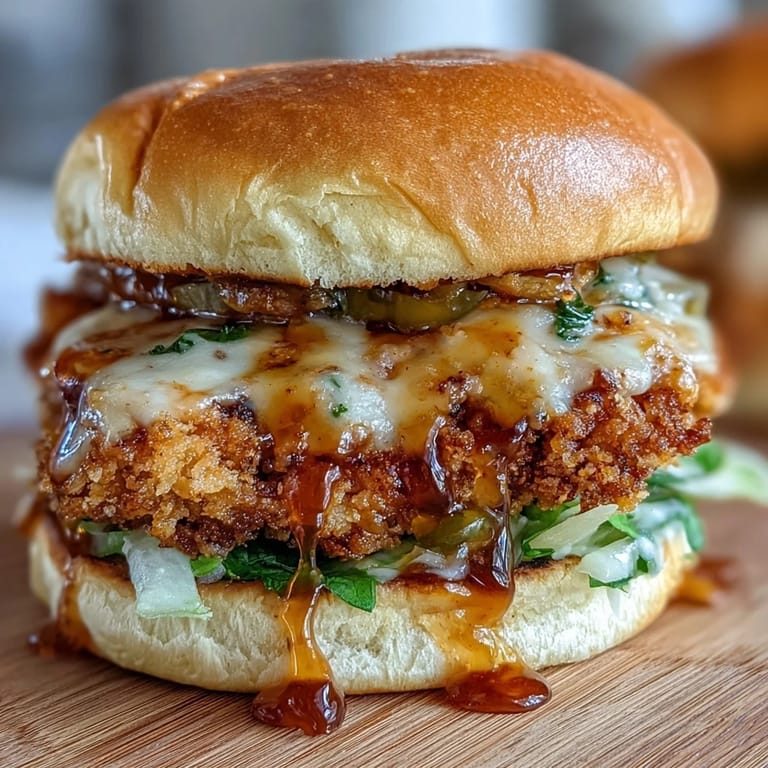
Pin There's a moment when you pull that first batch of golden chicken from the oil and the smell hits you—crispy, salty, with just a hint of that honey mustard promise waiting in the wings. That's when these sliders stop being a recipe and become something people will remember.
Keeping Them Crispy
The biggest mistake most people make is assembling these too far in advance and watching the buns absorb moisture and turn soft. I learned to assemble right before eating, or to toast the buns generously and let them cool completely before adding sauce. If you're feeding a crowd, keep the chicken warm in a low oven and have everyone assemble their own—it's faster, everyone gets exactly what they want, and the sliders stay in peak condition.
Flavor Variations That Actually Work
Once you nail the basic slider, you'll start experimenting, and that's where the real fun begins. I've topped these with crispy bacon, added pepper jack cheese for heat, swapped in grilled chicken when I didn't want to fry, and even gone the air fryer route when I was cooking for a smaller group. Each variation shifts the vibe slightly but keeps that crispy-crunchy, tangy-sweet magic intact.
Make-Ahead Magic and Storage
You can breeze through most of the prep during the day and finish assembly when guests arrive, which is a lifesaver when you're juggling a party or event. The chicken holds for a day in the fridge and reheats beautifully in a 350°F oven for about ten minutes, and the sauce keeps for three days covered. This flexibility means you're not a stressed host—you're someone who planned ahead and is enjoying their own party.
- Breaded chicken keeps up to 24 hours refrigerated before you fry it, so you can do the messy step in advance.
- Cooked chicken stays crispy in an airtight container for two days if you must, but it's best within a few hours of frying.
- Assemble only what people will eat immediately, and keep extra chicken warm while you serve the first batch.
 Pin
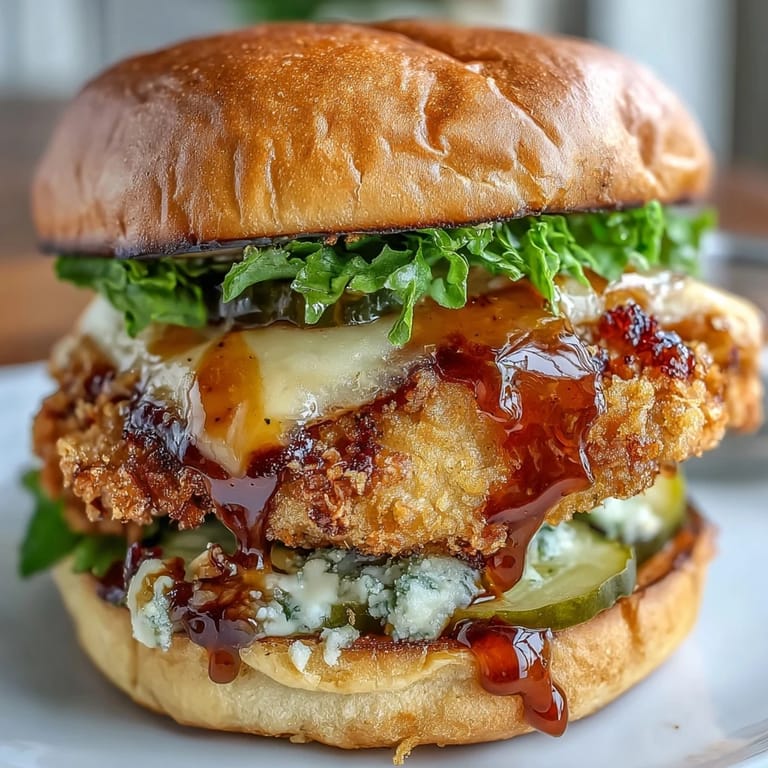
Pin These sliders have become my go-to recipe for literally any gathering, and they've earned their place in my regular rotation. There's real joy in food that's crispy, flavorful, and easy enough to make without stress.
Recipe Q&A
- → How can I ensure the chicken stays juicy and tender?
Cut the chicken into consistent pieces and avoid overcrowding the pan while frying to maintain even cooking and juiciness.
- → Can I make these sliders spicier?
Add cayenne pepper to the breading mix or include a dash of hot sauce in the honey mustard sauce to increase heat.
- → What is the best way to reheat leftover sliders?
Reheat in a preheated oven or air fryer to restore crispiness without drying out the chicken.
- → Are there alternative cooking methods for the chicken?
Yes, you can grill chicken marinated in honey mustard sauce or use an air fryer for a healthier crisp.
- → What cheeses work well with these sliders?
Cheddar is classic, but pepper jack, provolone, or Swiss cheeses also complement the flavors nicely.